Having played two games (
here and
here) my wife's warband were now onto their first convergence. They're following the Kharadron Overlords quest, and so the mission was as below:
I brought my
Sacrosanct Chamber SCE, who were hoping to redeem themselves after their first game.
The scenario
I won the priority roll for deployment and so got to choose who started where as well as the location of two of the three objectives in the mission. Basically the set-up was as follows:
- There were two objectives which I placed in the top-right quarter, one to the east of the tower (on the floor, but we placed it on the roof so it was easier to measure from) and the other not far from the piece of rubble, and one that she placed towards the west
- To win she had to claim at least two of the objectives at the end of round 4
- I picked deployment so that two of her groups would start on the western edge
- My Hammer (just one Evocator) would appear on the western edge, and her closest reinforcements would appear on the southern edge
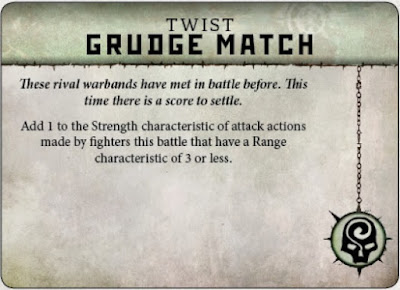
- The Twist card did nothing: it gave our leaders a bonus when fighting each other in melee, but that was never going to happen
 |
| Apt, but of no consequence |
The game
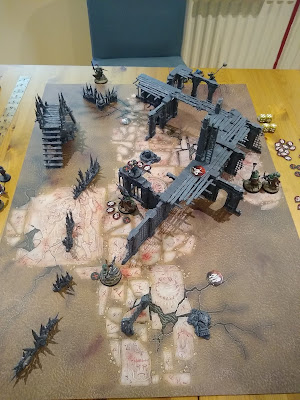
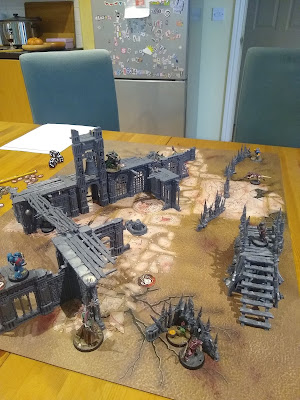
I'm afraid I don't have a deployment shot, but here is how things were looking at the start of the second battle round:
 |
| Blood is spilled |
My leader had made a beeline towards Jadwiga as her shooting is
very scary, whilst my Castigator helped out. At the start of round 2 my Dagger reinforcements came in on the northern edge (the right in the picture above) to try to secure the middle objective, and hers came in from the western edge.
 |
| Jack and his reinforcements |
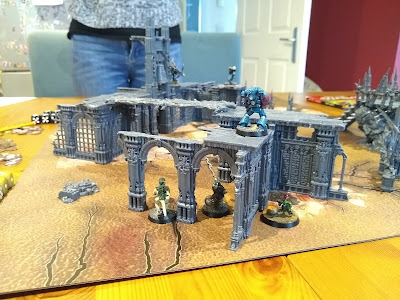
By the end of round 2 I'd taken out Jadwiga and ran my leader out of sight of Jack, as he was already wounded. My reinforcements had moved forwards, with the Sequitor standing in the one possible position that meant he held both objectives. My reinforcement Castigator had run onto the platform to shoot at Jack, and using his Triple to boost his shooting did... zero damage! I was stupid and should have shot at Ratatouille as I'd have killed him, and getting into a firefight with Jack is a lost cause as he has more wounds and is a better shot. Which was proven when he returned fire and knocked 16(!) wounds off of my Castigator, leaving him with four :¬( Jack also used his consumable artefact to give them D3 extra wild dice next round.
 |
| Run away! |
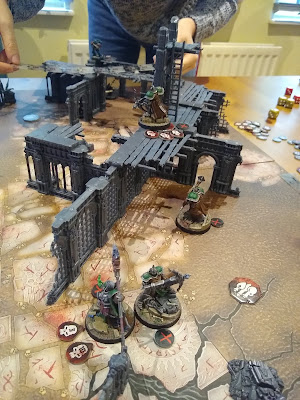
The start of round 3 saw our final set of reinforcements come on. I ummed and ahhed about where to place my Evocator. I had initially decided to deploy her in base contact with Ratatouille and Fee (in hindsight the correct decision), but instead got greedy and placed her so that she could take a run at Jack to try and hurt him and lock him down.
My wife's reinforcements came in on the southern edge, to threaten what had previously been the more secure of my two objectives. Apart from Willard, who hid in cover at the top of the statue head as he had only four wounds due to his cracked rib.
 |
| Everyone's arrived for the party |
Key events this round:
- My Evocator managed to get to Jack in combat and do some damage, but not enough to stop him shooting and killing my Castigator sitting on top of the objective
- My remaining Castigator couldn't shoot at Maggie as my dumb leader was stood in front of her, so she instead fired at Bjork da Orc, doing damage but failing to kill him
- My leader ran to get onto the objective in the ruins
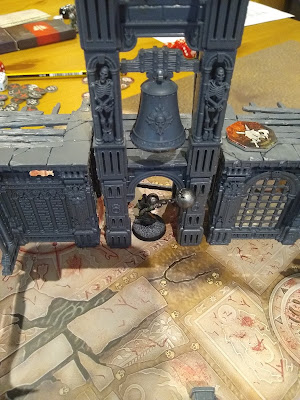
- Szczepan ran forward and hit under the bell tower
 |
| Such a brave grot |
Round 4 is when things got very tactical. I was thinking that I might be able to win this, as I had some very resilient models that my wife couldn't kill, and a lot of her models were a long way away. But it would mean keeping her southern reinforcements away as well as those coming in from the left. And she still had more bodies than me...
This was by far the most tactical round we'd played out of the three games. There was almost no combat, with it being a mix of wait actions (so many wait actions!) and running around. I'd managed to kill her models on the southern flank with my remaining Castigator, securing that objective. But it meant I only had two models on the objective in the ruin, and no way to steal the one on the western side with both Terry and Ratatouille there.
My wife played very well, waiting out my activations with her larger number of models, and then rushing the objective when I had nothing else to activate. With the final activation of the game, Fee the Snotling ran forward and won the game for her, 2:1!
 |
| Fee and injured Willard run forward to secure the objective and win the game! |
 |
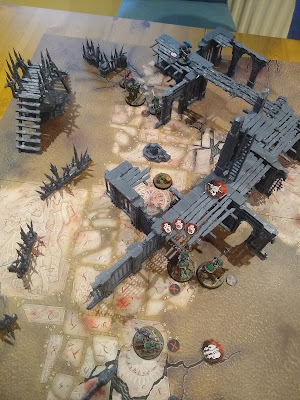
| How the battlefield looked at the end of the game |
Aftermath
My Castigator, the one model I lost this game? He died, so I had to spend Glory to hire a new one back. I then rolled for an artefact and got the one that heals injuries, which is useless for these guys (but my Grots would like it!) as no-one is injured. And after three games I'm still yet to gain a Destiny Level. Oh well!
For my wife Willard's cracked rib healed, Jadwiga died but was resurrected, and Dollop the Snotling now has a permanently fractured arm that means he is at -1 Strength (not that big a deal, TBH). Her random artefact was a Vial of Heartwood Sap, which is a consumable that means Jadwiga can heal a visible friendly model D6 wounds.
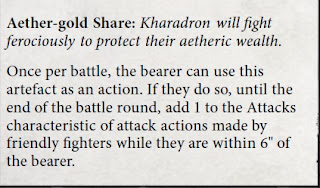
And most importantly: for winning her convergence my wife chose to give Jack an Aether-Gold Share. Once per game he can trigger this to give all friendlies within 6" +1 Attack. Ouch!
Thoughts
My wife is really good at this game!
This was a really close, fun game. I made some mistakes - trying to go for Jack when I'd have been better off trying to thin the herd - and my wife capitalised on that well. And of all the games to lose, the best ones are someone else's convergence.
The next time we play I think it's time for my Sacrosanct to try to win their convergence. Oh dear...

